How to Configure Taxes in Your Store
To activate and implement taxes, you must do so from your store’s administration panel. Remember that you can log in with the ending /admin in your website link, for example: printspot.io/my-store/admin.
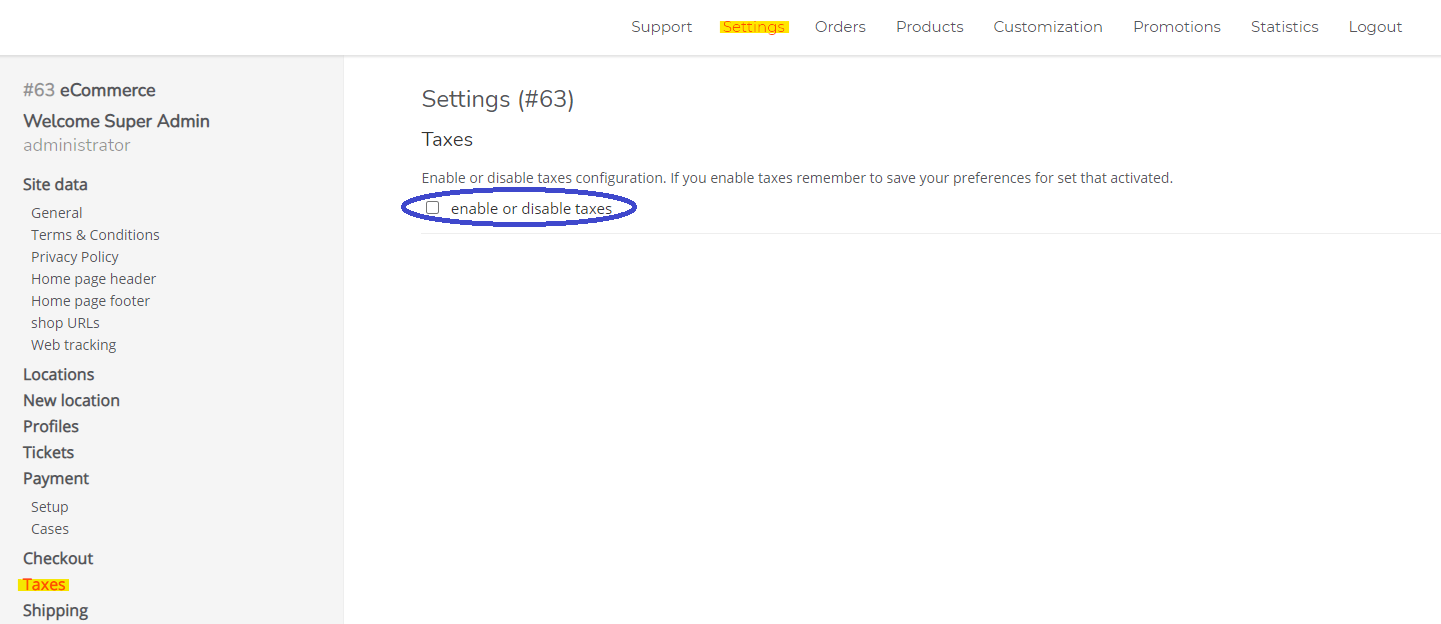
You will know that you have logged in correctly if your user appears in the left sidebar of the panel (in our case, a supervisor user). After logging into the panel, go to the Settings menu in the top navigation bar and once there, click on the Taxes section in the left sidebar.
Next, click the option highlighted in the following image to activate the tax configuration in your store:
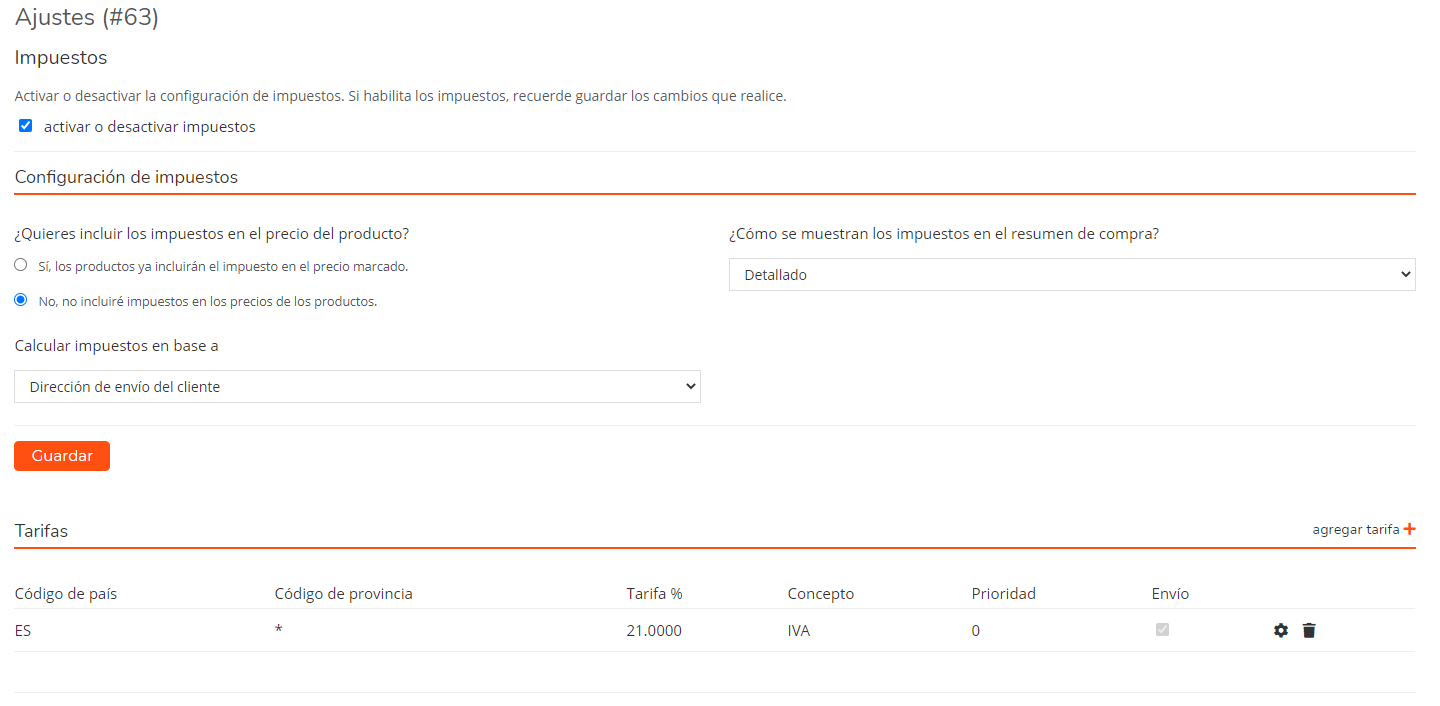
After clicking the option, all possible configuration options will be displayed:
Tax Configuration
The section consists of three options: inclusion of taxes in the product price, how taxes are displayed in the checkout, and based on what taxes are calculated.
Do you want to include taxes in the product price?
Activating this option ensures that the price shown to the user **includes the defined tax**. For example, if you activate this option with a product priced at €18 that has VAT, the final price displayed in the store is €21.78 (Product Price + VAT).
How are taxes displayed in the purchase summary?
You have two options available to configure how taxes are shown in the purchase summary: detailed or unified total. Take into account that this section works if more than one tax has been established.
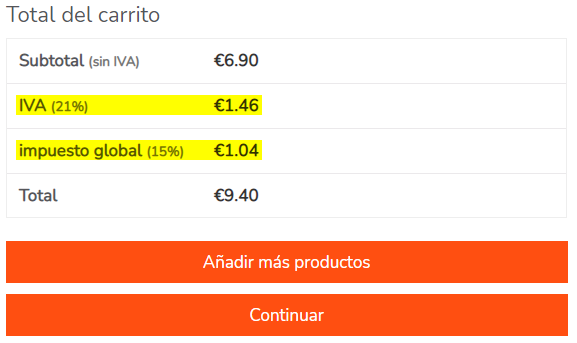
By selecting the detailed option, you will see a breakdown of the amounts for each configured tax in your store in the purchase summary.
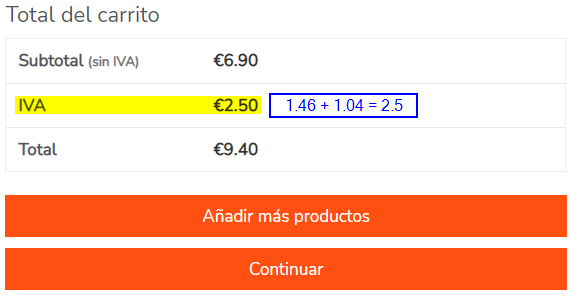
However, if you select the unified total option, the calculation of all taxes will be summed up and displayed as IVA (in Spanish) or as VAT (in any other language).
Calculate taxes based on:
In this section, you can select between two options: whether to calculate taxes based on the customer’s shipping address or based on the customer’s billing address.
Rates
This section shows all the rates or taxes created in your store and all their information. From here, you can perform various management tasks related to rates, such as creating a new one, editing, or deleting an existing one. Below, you can see a brief explanation of each field you can configure in the rates:
- Country Code: This section displays the code of the country where the tax is applied. This code is an abbreviation (ES = Spain). When creating a new rate, you must select the country where it will be applied. If you want to configure a tax that applies to all countries, select the asterisk option (*).
- Province Code: This shows the code of the province where the tax is applied. This code is an abbreviation (T = Tarragona). In the same way as with countries, you must determine in which provinces the rate will be applied. If you want to configure a tax that applies to all provinces of the country defined in the previous step, select the asterisk option (*).
- Rate %: In this section, you can see the percentage that the tax applies to the cart subtotal (amount before taxes).
- Concept: Here you can see the name you have designated for the rate.
- Priority: Here you can check the priority number designated for the rate. When you create a rate, you must define a priority number. It is very important that this number is unique; that is, each rate must be assigned a priority number that is not repeated. Even if several rates are applied to the same area, each one must have a different priority number.
- Shipping: This field shows whether the tax is included in the shipping cost. You can configure this option when creating a new rate or editing an existing one.
Next, we detail the various operations you can perform concerning the rates:
Add Rate
To create a rate, click Add Rate highlighted in the following image:

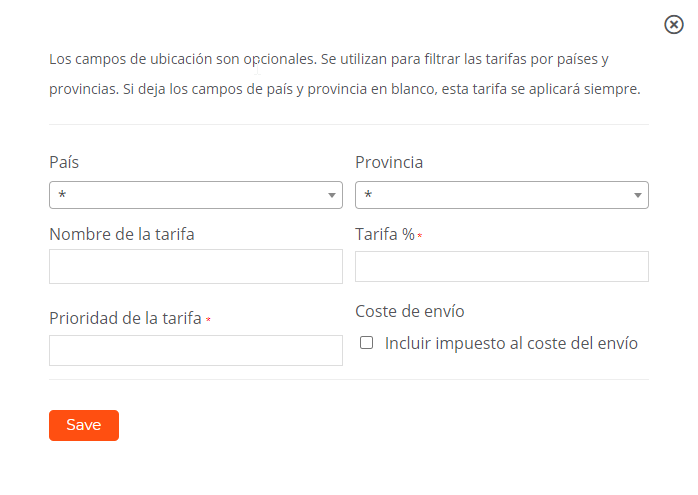
Subsequently, a window will open where you can define the characteristics of the new rate you want to create. Remember to click Save to save the changes and thus, finalize the creation of the rate.
Edit Rate
With the rate already created, you can edit its configuration by clicking the button highlighted in the following screenshot:

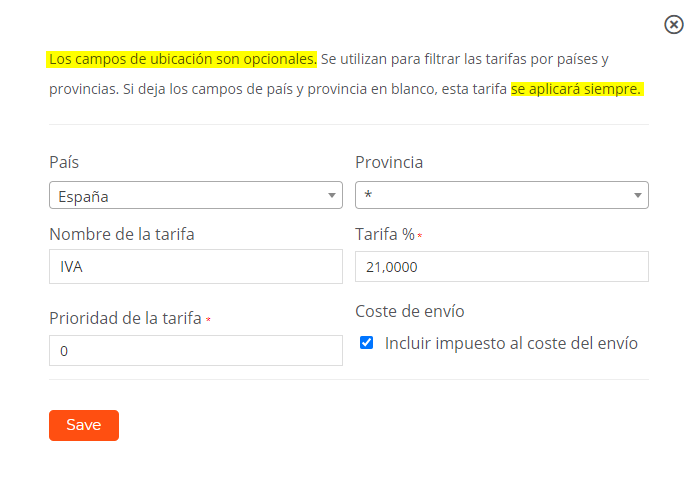
Once the button is clicked, a new window opens where you can modify the configured options of the existing rate. Remember that if you want to configure the Country and Province fields to affect all countries or provinces, you must select the asterisk option (*).
Delete Rate
Finally, you can delete a rate by clicking the icon highlighted in the following image:
