
Heart-shaped cushion
We are going to create a template with a heart-shaped cushion, where the user will upload their image, which will be placed underneath a white halo that we will have previously designed:
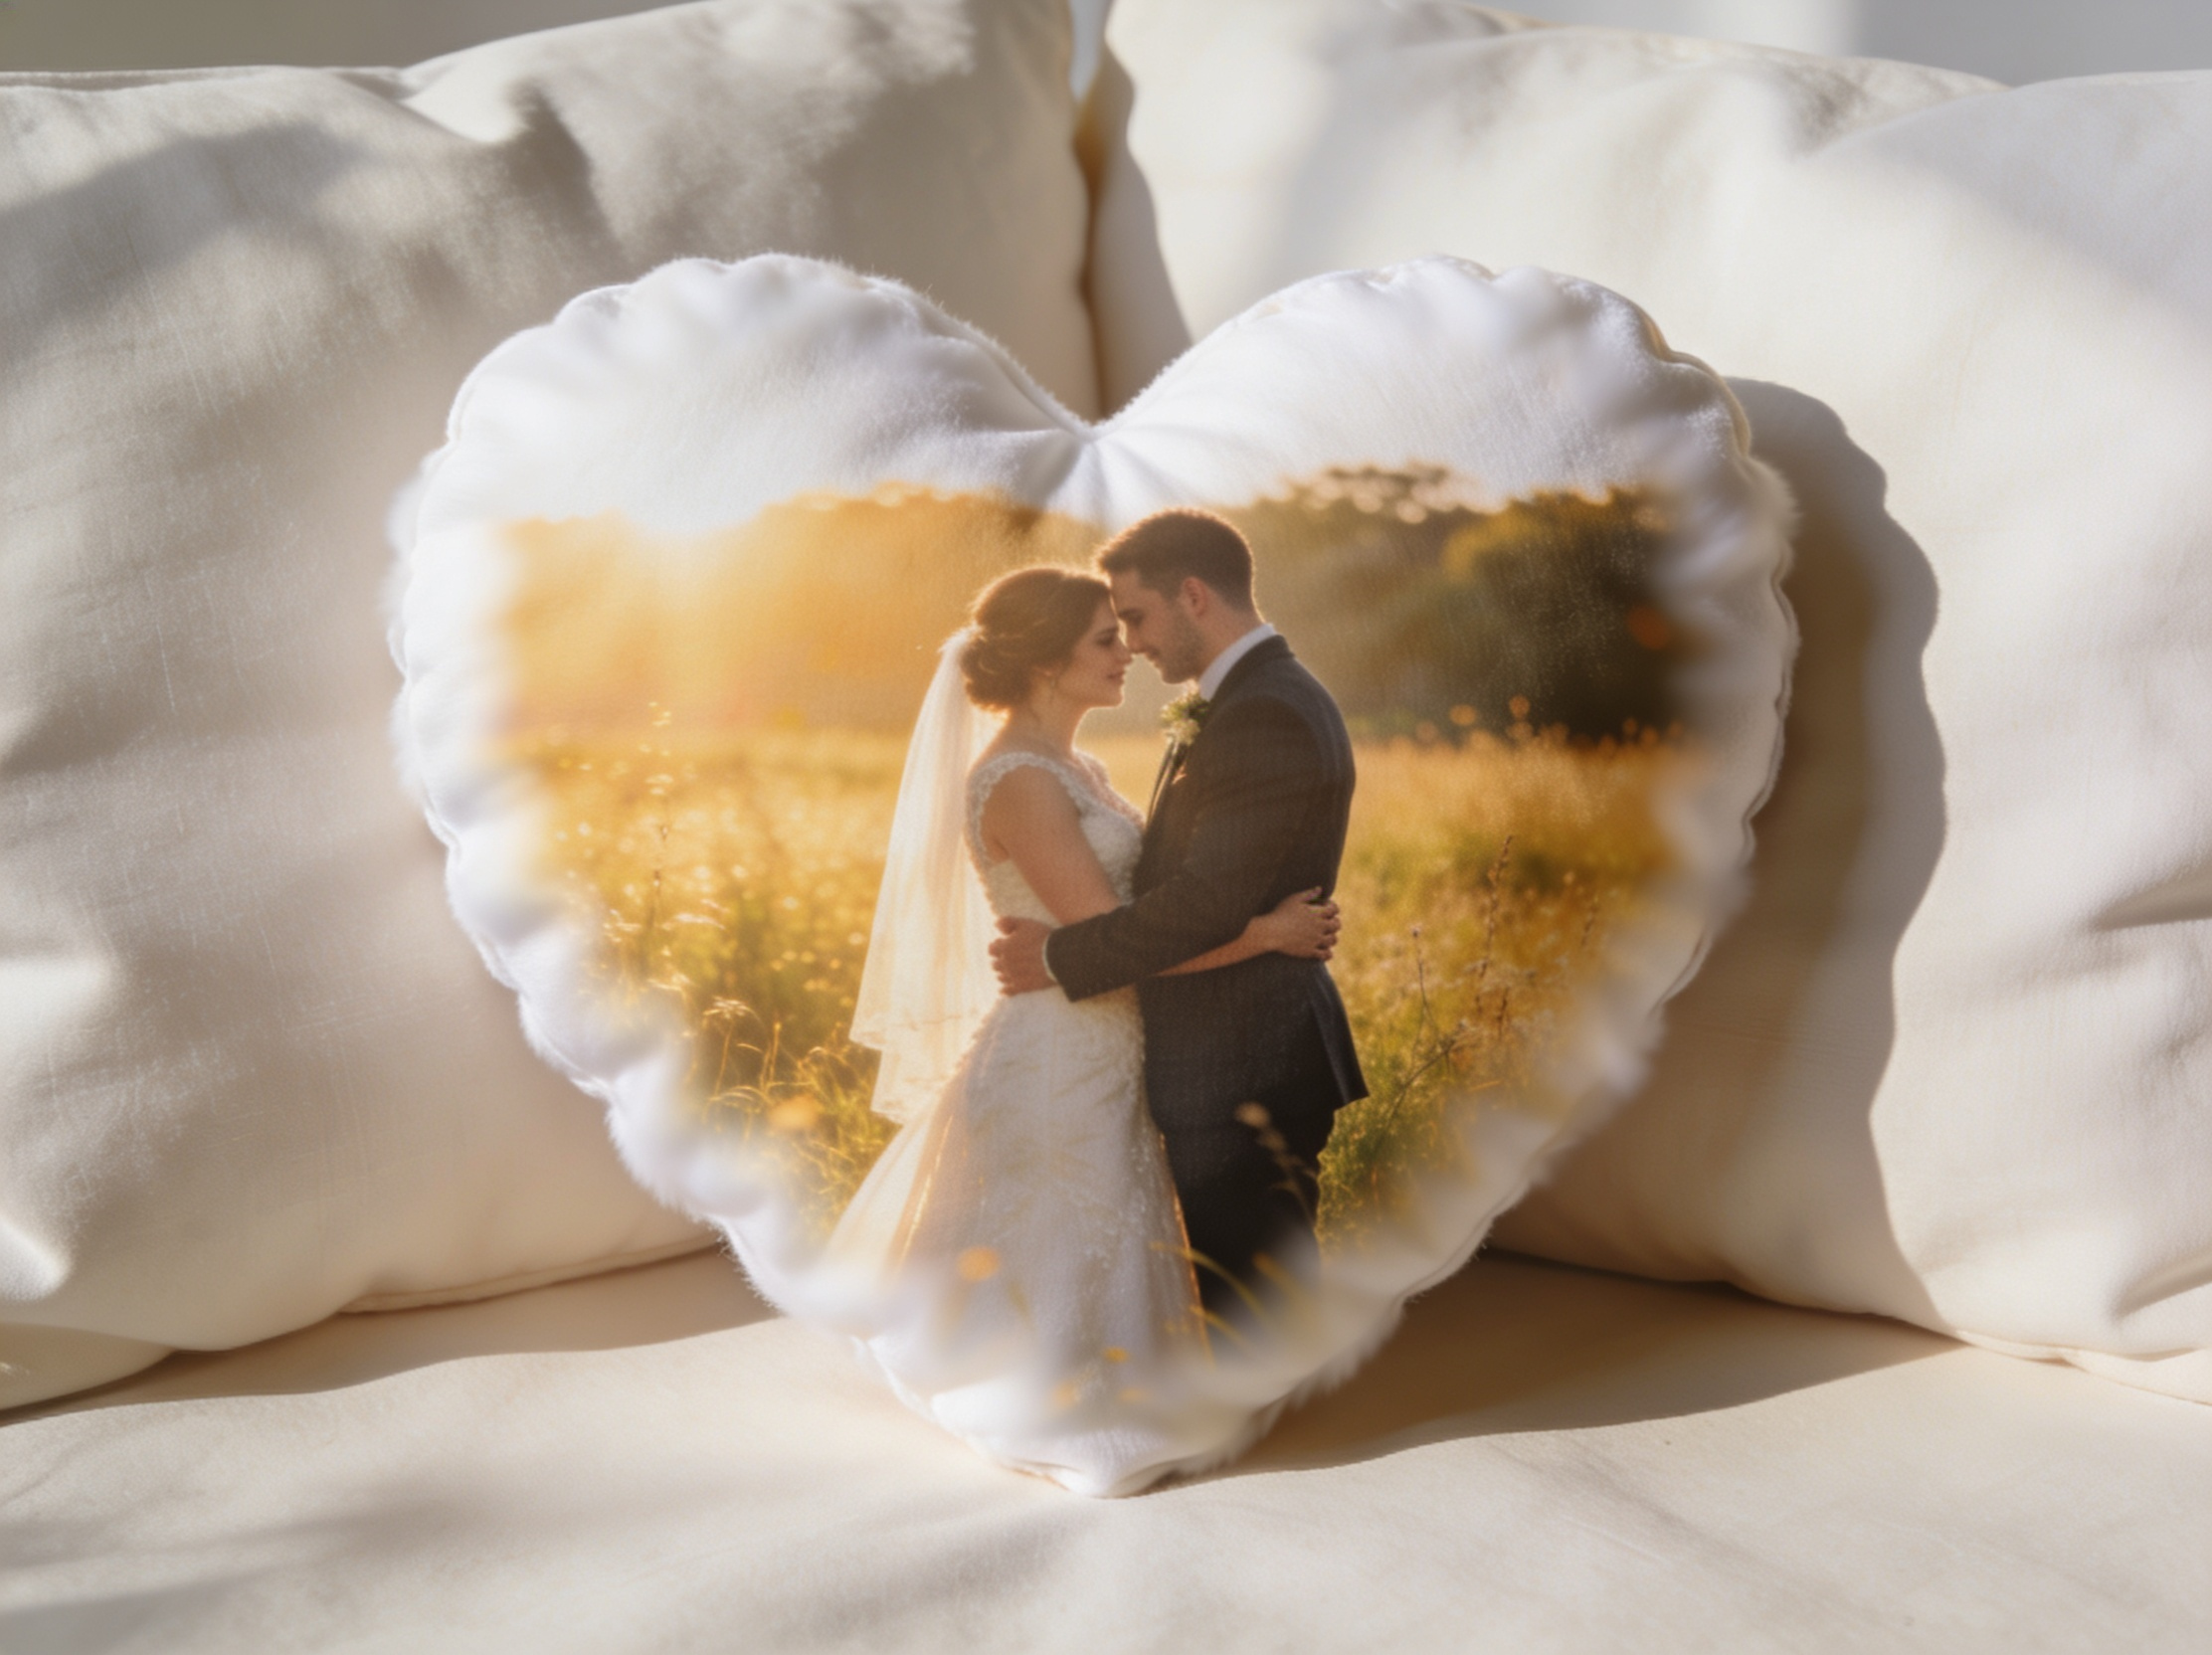
We can see the final result by clicking here.
Template Creation
We will create a template in our environment with the dimensions and format we want for the print file:
-
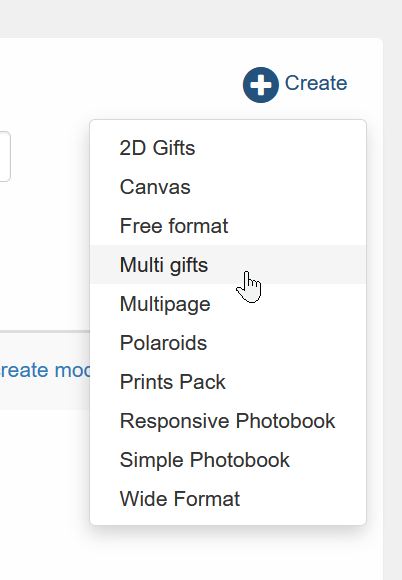
- Select the Multi Gift editor
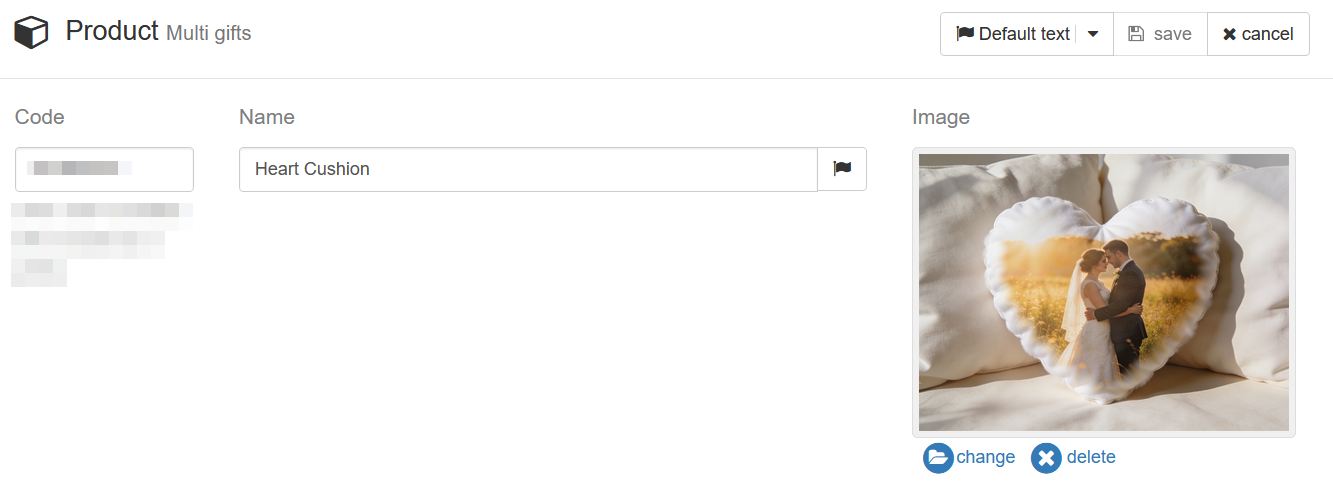
- Product name and desired thumbnail
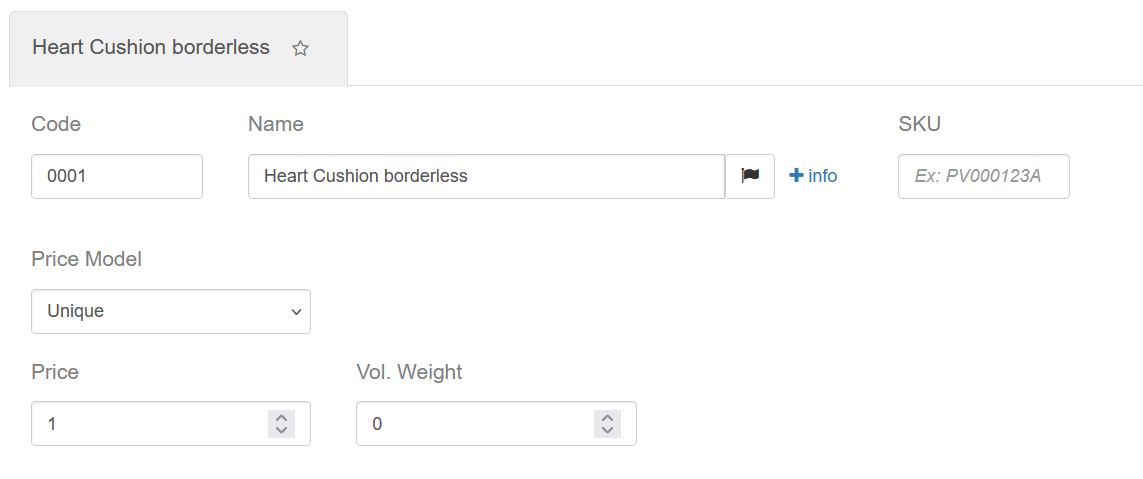
- Variant name and price
If you want to know what a variation is, click here
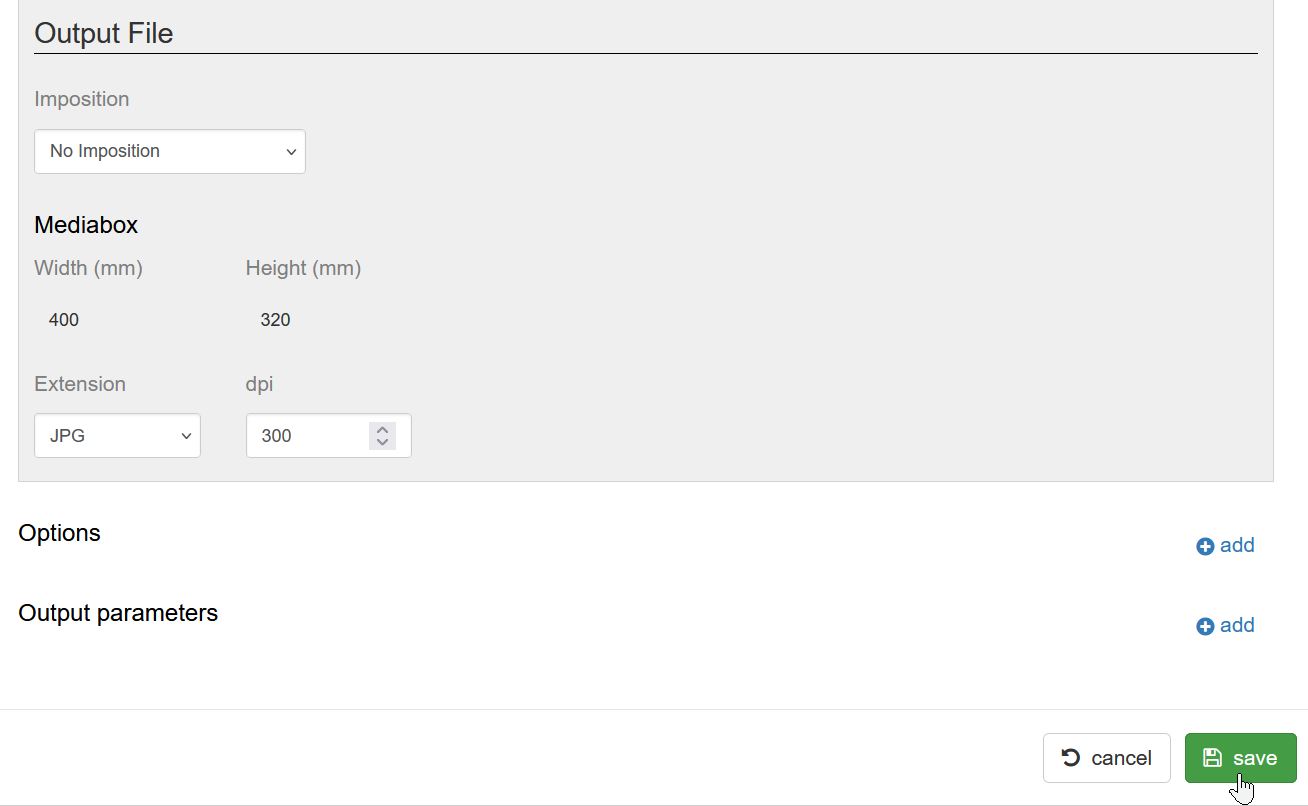
- We will set the size of the final file; in our case, we want it to be 400 mm wide by 320 mm high
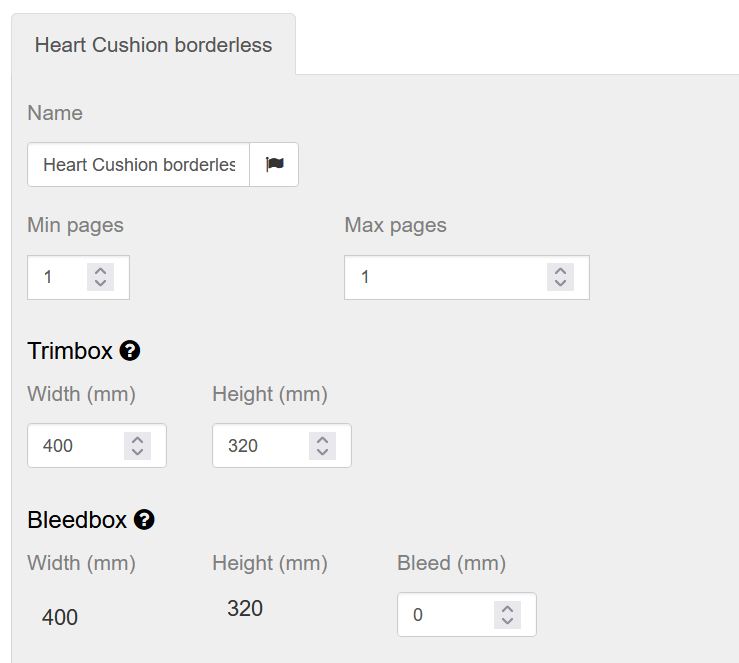
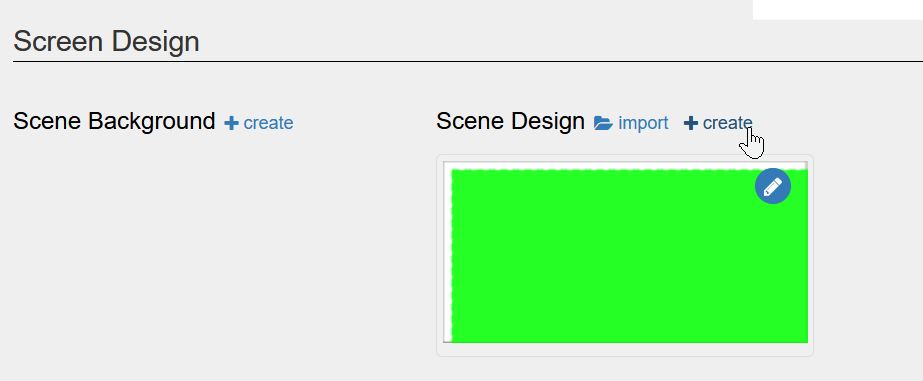
- We will create a new scene
And we will accept; we will see that a scene is being created with the size we defined for the output file dimensions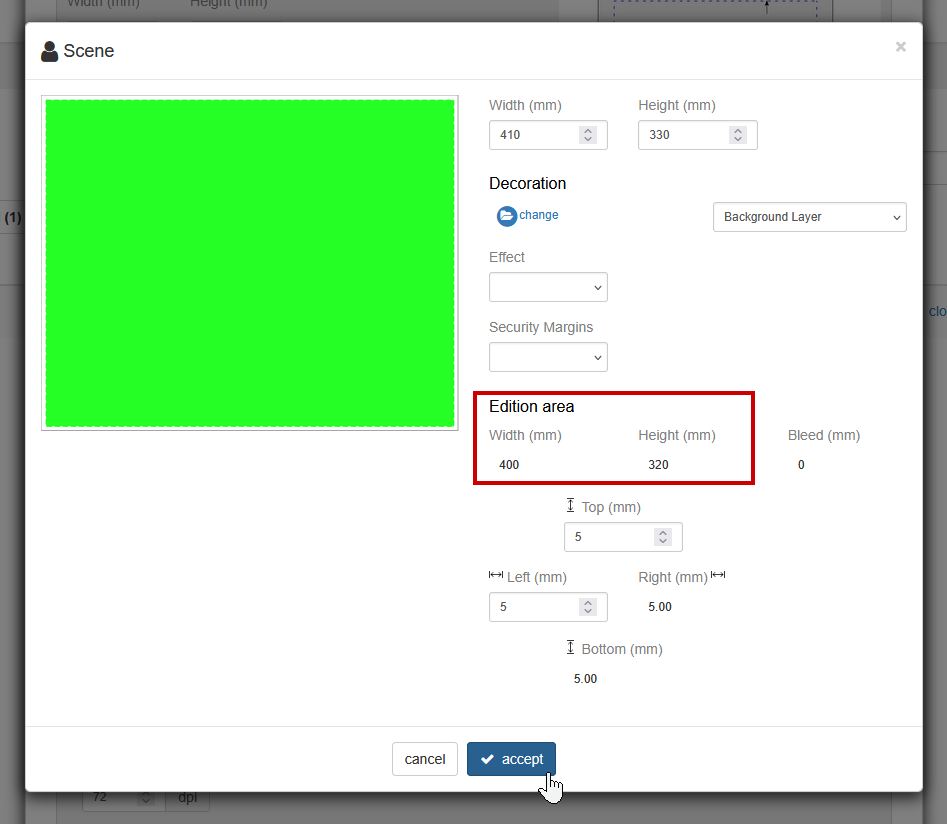
- Now we will edit the Artwork.
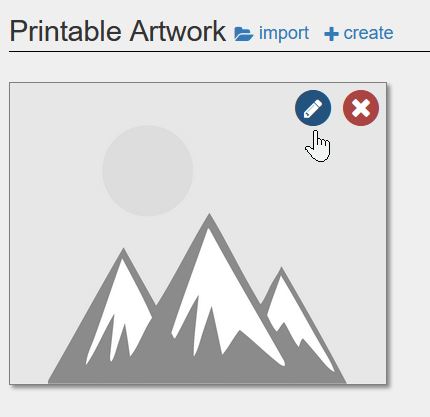
First of all, we have prepared a transparent PNG with the image we want to display on top of the user’s photo: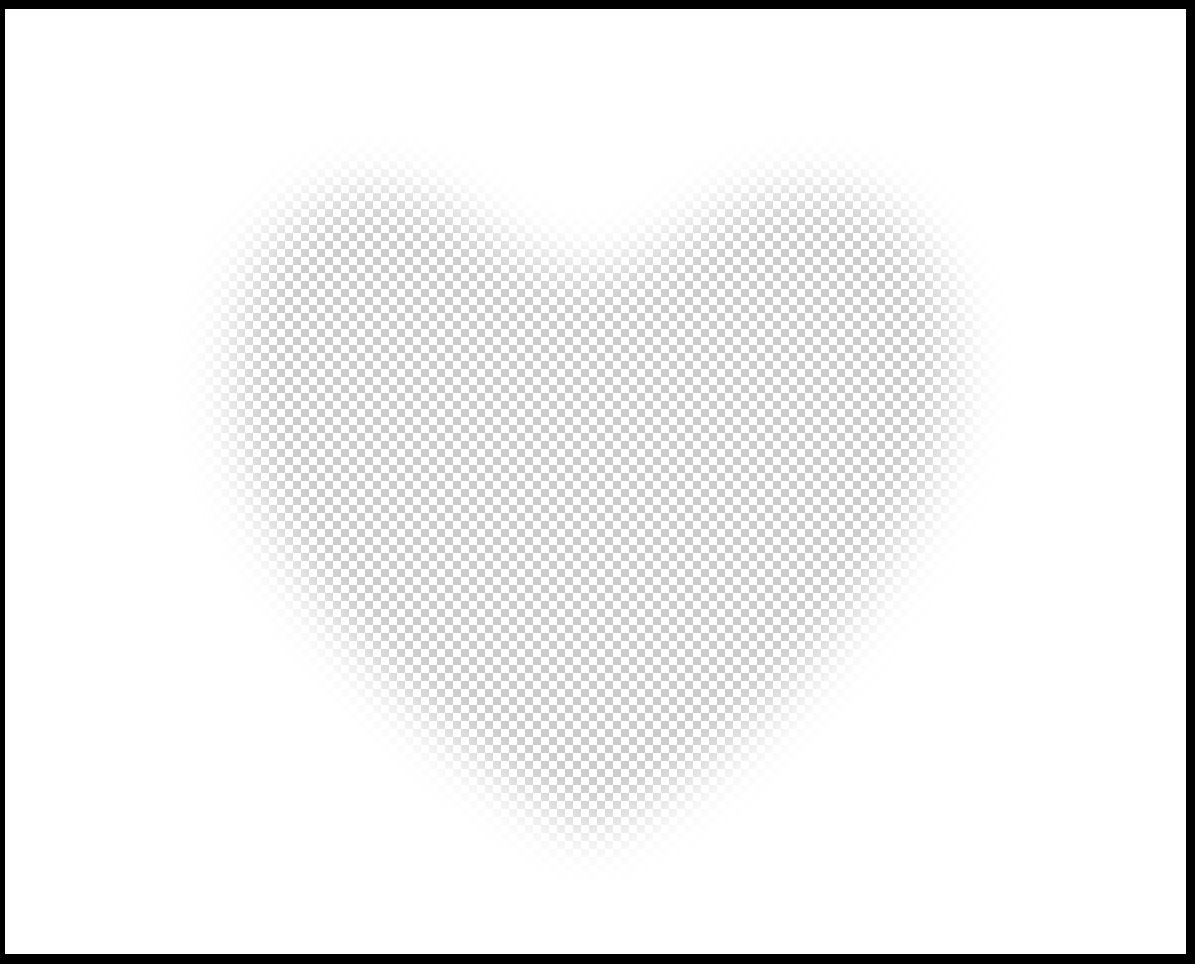
This image must have the same dimensions as the output file we previously defined (400 mm wide by 320 mm high) - We add a new Image type layer
- We remove the layers we do not want (in this case, we must leave only the image layer we created along with the Collage layer, which is where the user will place their image)
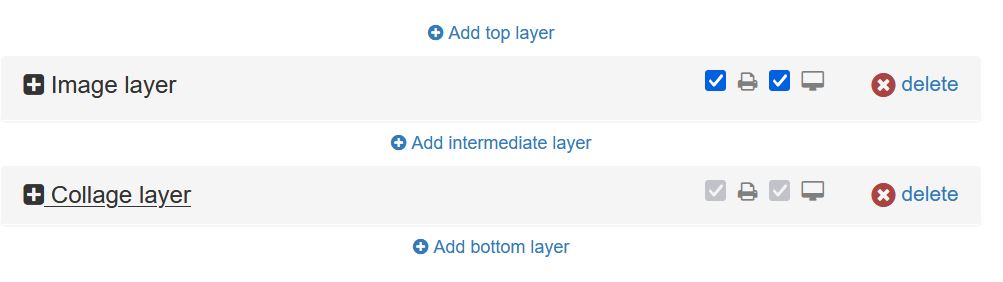
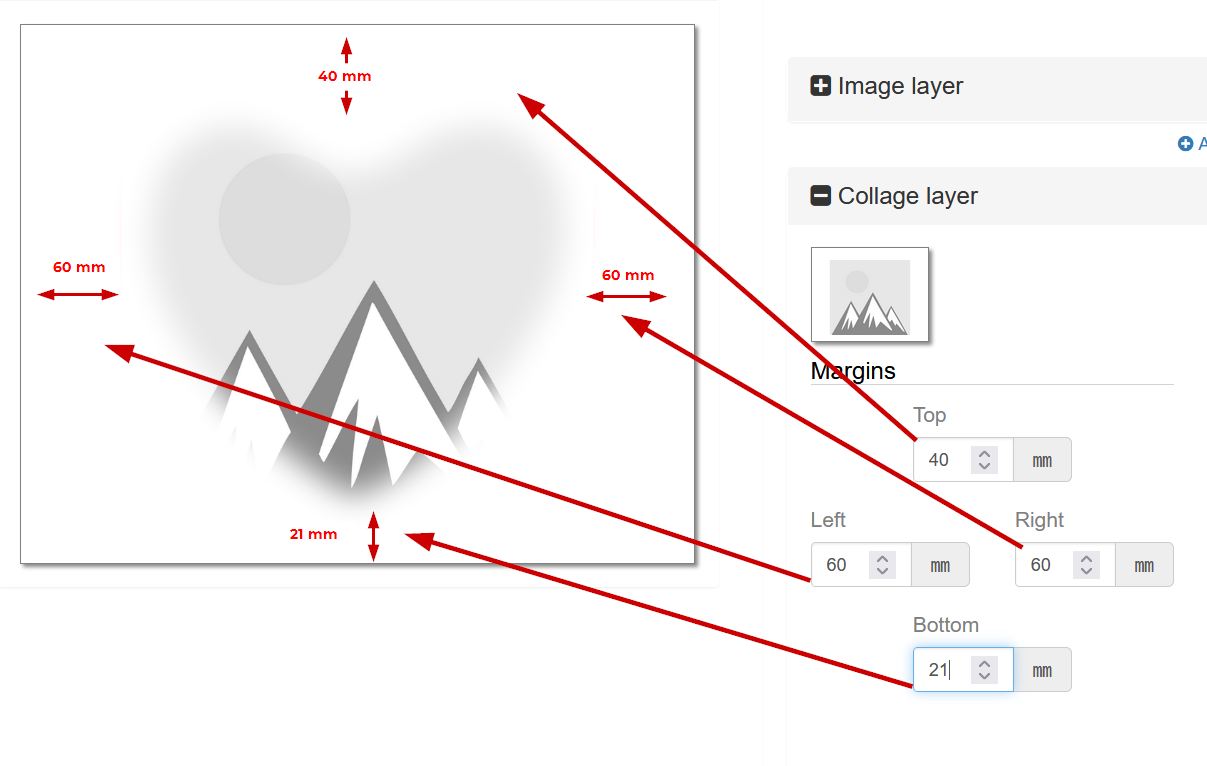
- We can check that the PNG is located on the top layer and the collage one underneath. Now we must adjust the Collage layer to fill the hole in the PNG
- We save changes
- Select the Multi Gift editor
This is how the user will see the final result:
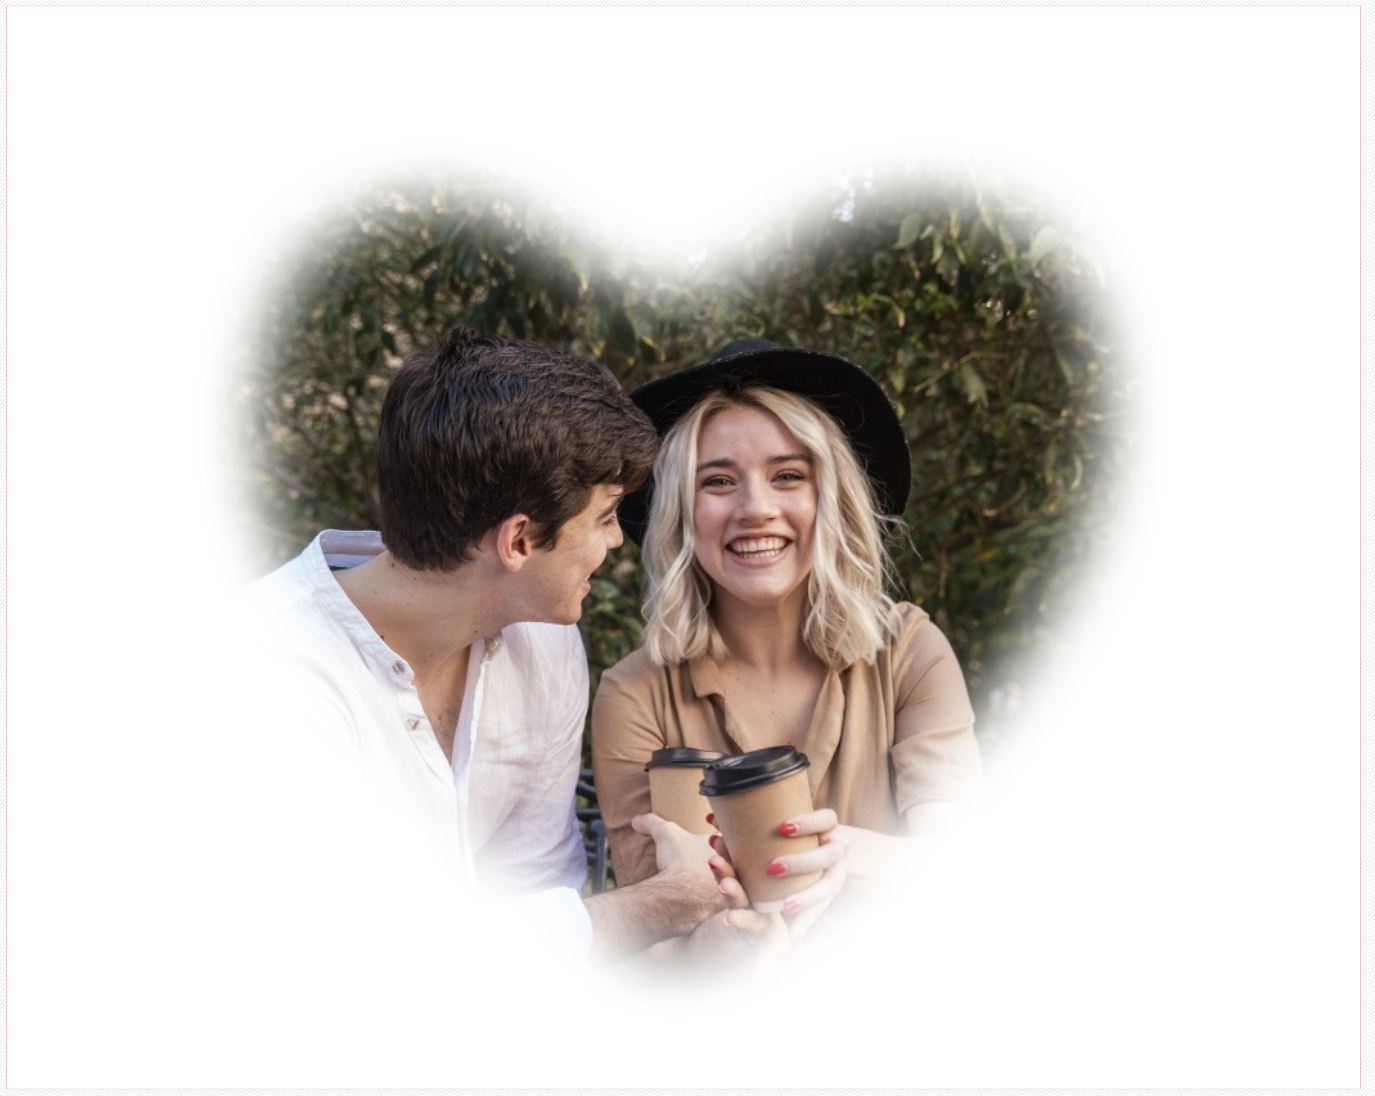
We could leave the scene as it is, but if we want to give more detail to our template, optionally, we can add an image to the scene
Options for the scene
The editor gives us the possibility to add an image on the top layer of the scene, which will allow us to make a more faithful simulation of the product.
In the scene creation process, we will do the following
-
- We will create a new scene
- We will change the background and select an image that we will place on the top layer (Foreground Layer).

The image we will place on the top layer is a transparent PNG that has a hole:
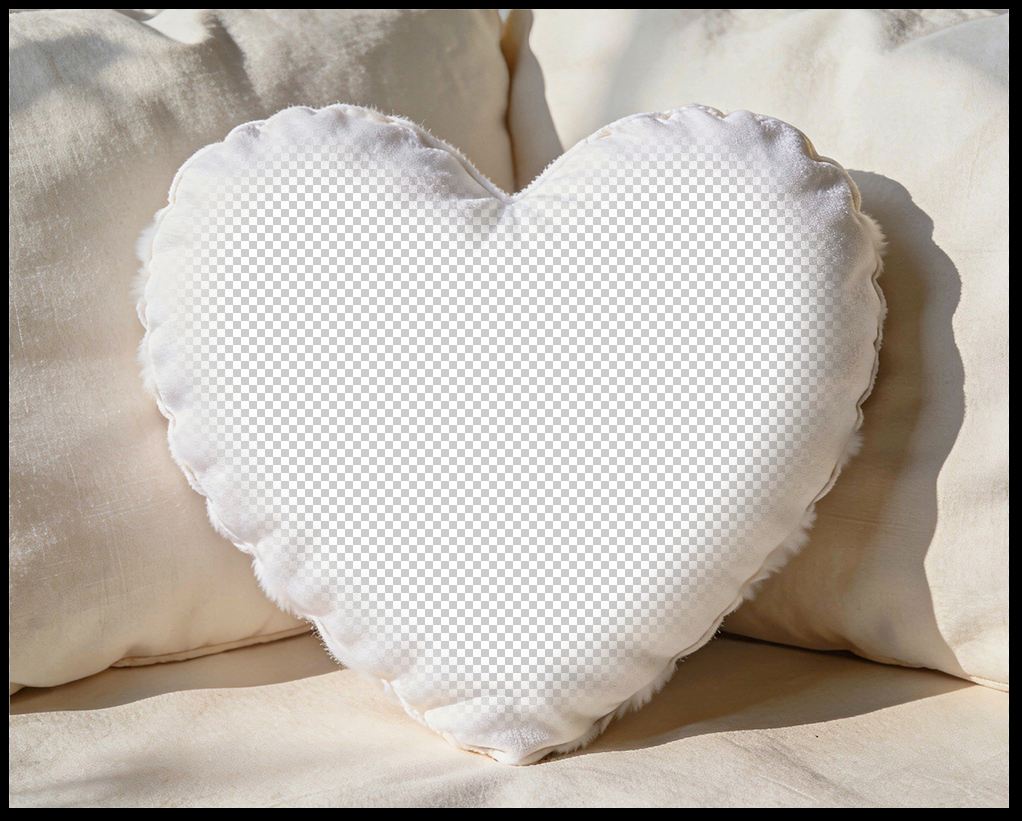
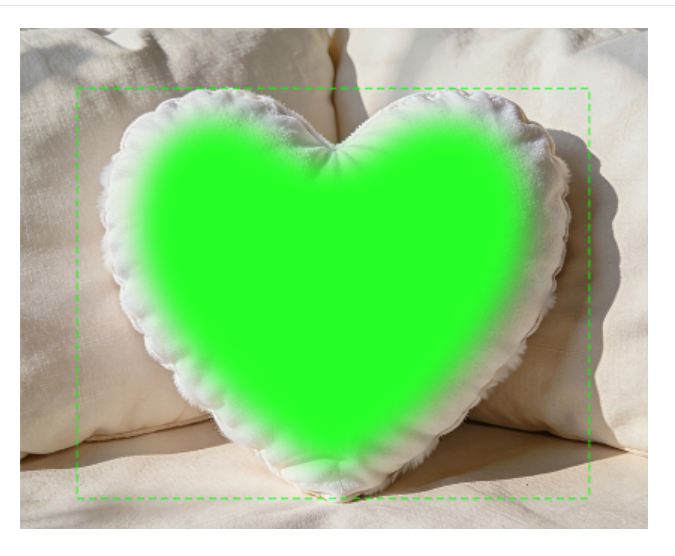
And we will see how the editing area (in green) is positioned on top of the background we uploaded:
 Therefore, when the user uploads their image, they will see it underneath this layer with the PNG we created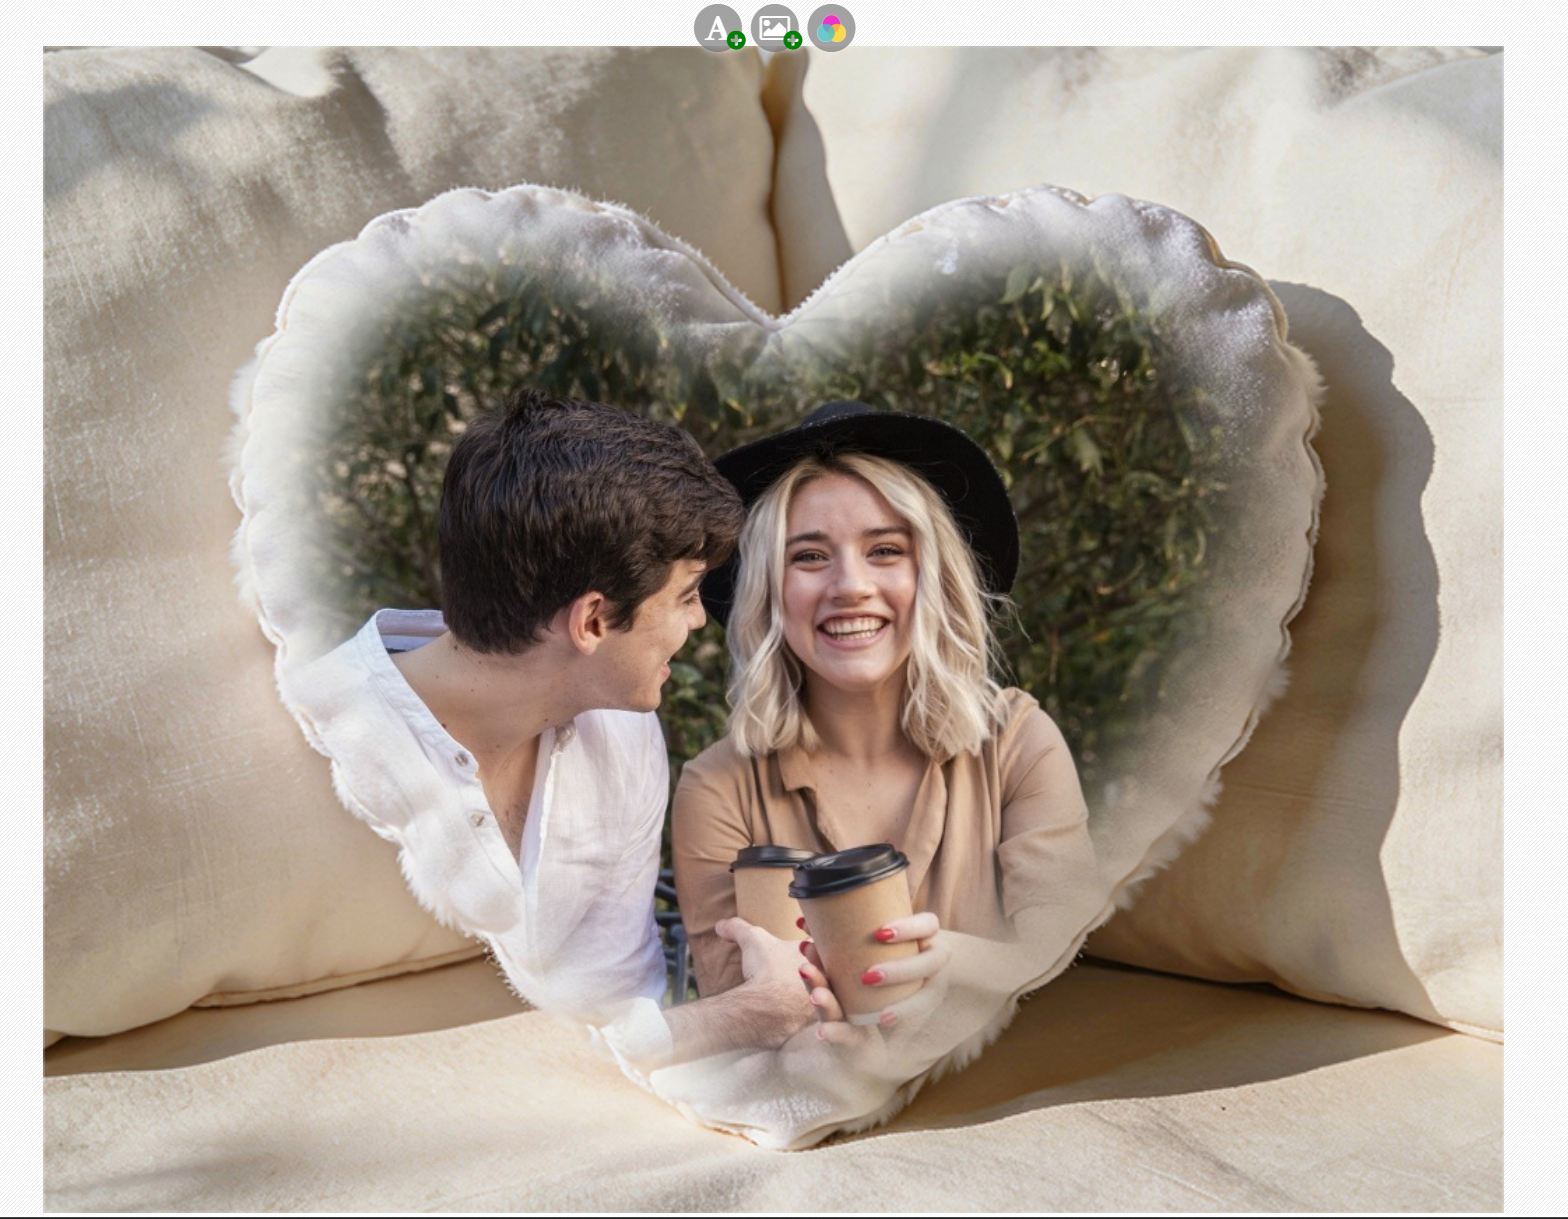
You can download the files used in this article by clicking here.