Cliparts
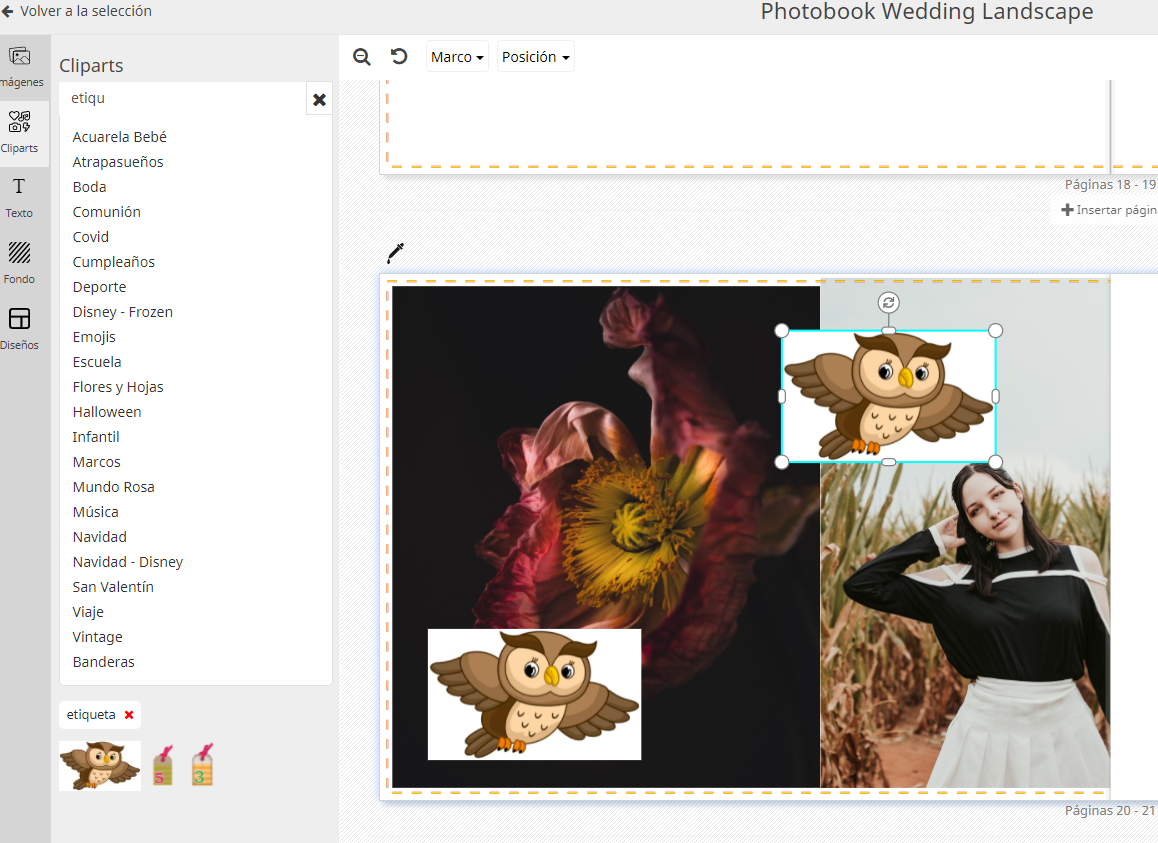
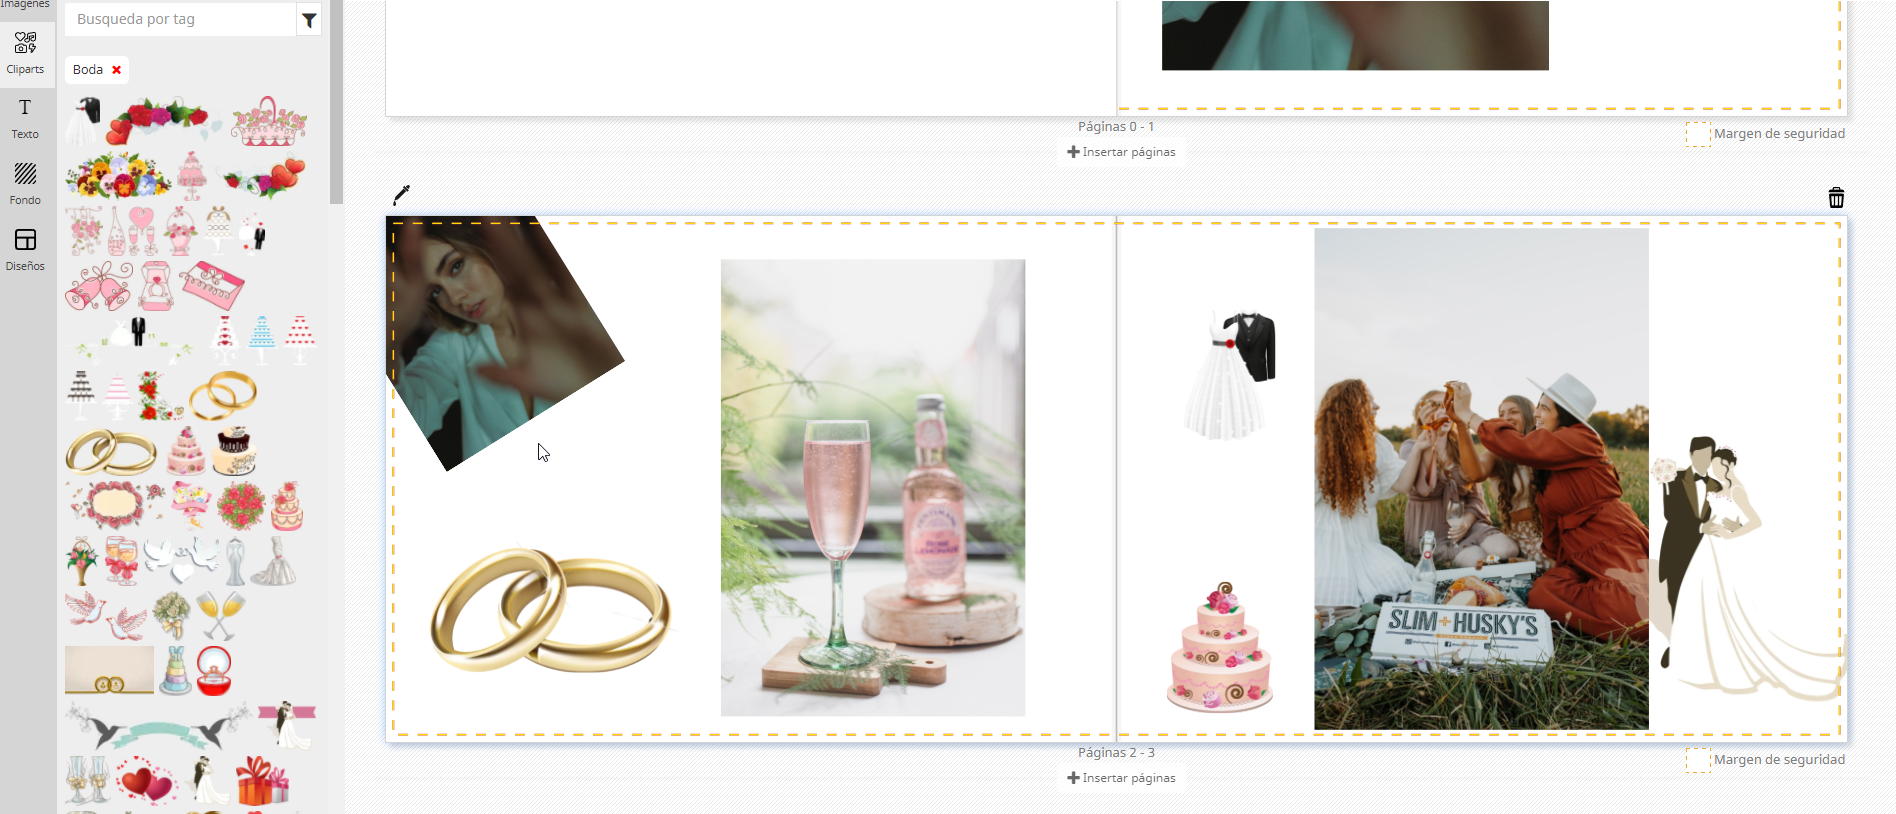
We have added a new feature into our Responsive Photobook editor: the Cliparts functionality. A Clipart is a predefined image stored in our system, available for all your customers. They can add it, move it, rotate it and place it wherever they want. The following example shows you how to add Wedding cliparts in a photo album product, for instance.
Services dashboard
If you have access to your own Services dashboard (a URL like https://services.imaxel.com/nameofyourcompany/admin) you’ll see in the Project Editor section a new button called Cliparts:
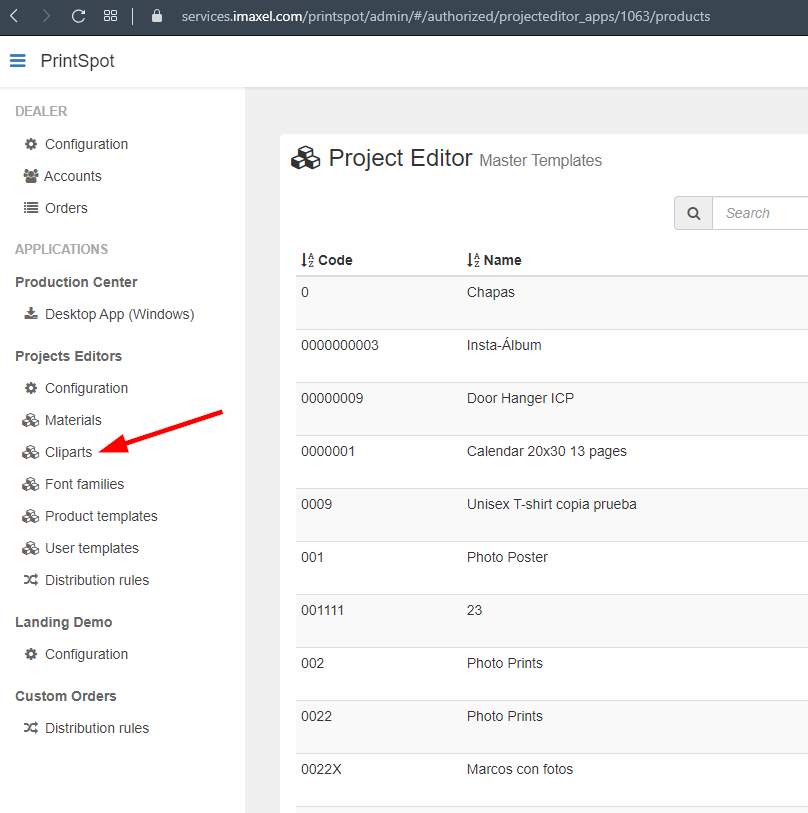
Otherwise, if you don’t have access to your own Services Dashboard you won’t be able to manage your own cliparts. However, there are more than 2800 cliparts available for our customers, with or without access to the Services Dashboard.
There are two kinds of Cliparts: Default Cliparts and the Custom Cliparts.
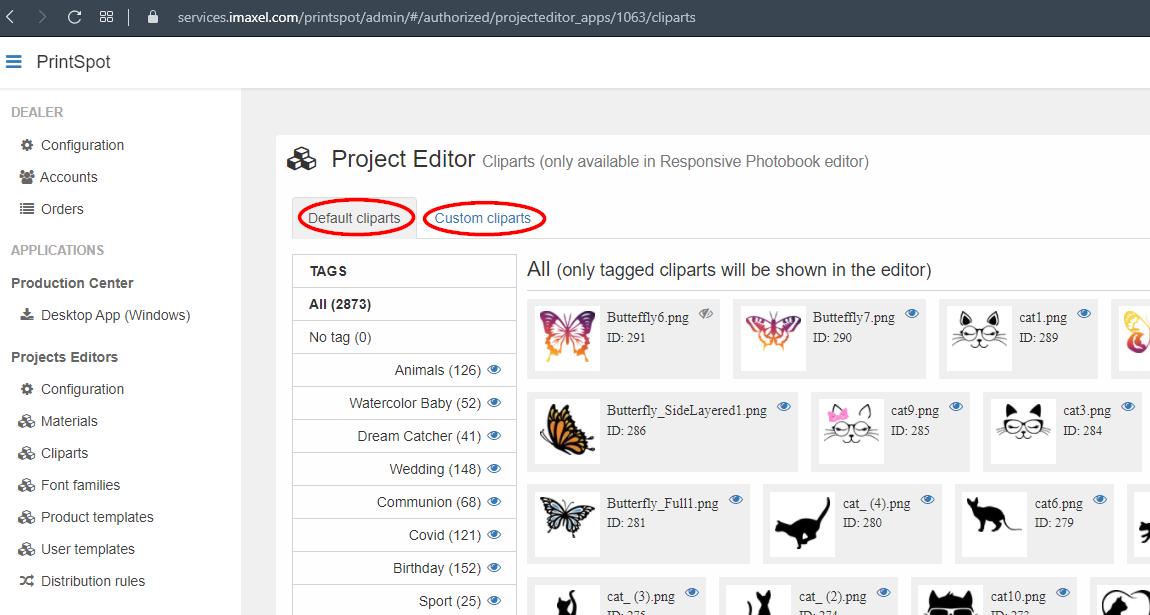
The Default Cliparts are managed by Imaxel, can’t be edited. But, if you want to hide them, you can set its visibility just checking the icon eye that you’ll find in the Tags list or in the clipart icon itself:
![]()
However, the Custom Cliparts are managed by the Administrator of your Services Dashboard. In this section, you’ll be able to create your own custom tags and upload your own cliparts. There is no limit to the number of tags or cliparts that can be uploaded.
You have to focus on these three sections: the management of the own tags, the management of the own cliparts and the tool for upload new cliparts.

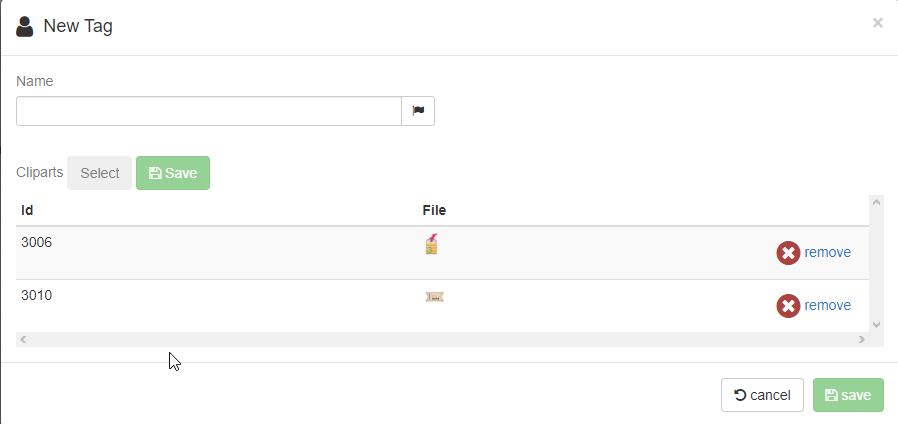
- Management of the own tags: by clicking the Create new tag, you can set a new tag for your cliparts. The tags are the way to group several cliparts, helping the customer to search for specific themes, such as colors or any other classification you considered valid for them. By creating a new tag, you can set its name and its translation to other languages, as well as which Cliparts selection will be grouped by in this new tag.
- Managements of the own cliparts: Through the Tag button, you can set to which tag belongs the Clipart. For remove a specific Clipart you have the Delete button and the Batch selection button allows you to apply any specific action to a whole group of cliparts, When you are in the Batch selection mode all the non-selected cliparts will appear in grayscale. To exit from this edition mode, just click again the Batch selection button.

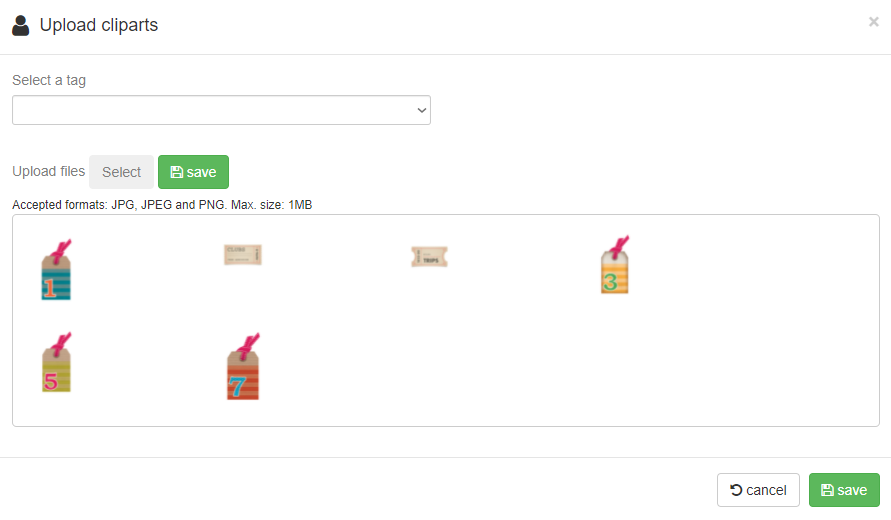
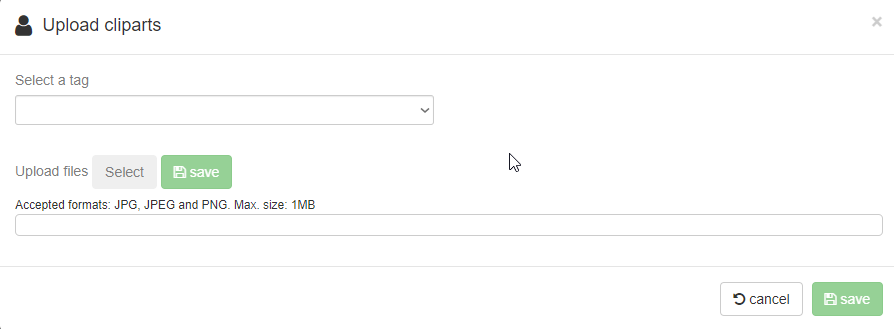
- Upload new cliparts: this functionality allows you to upload and set the tag for the cliparts at the same time.
Editor (front-end)
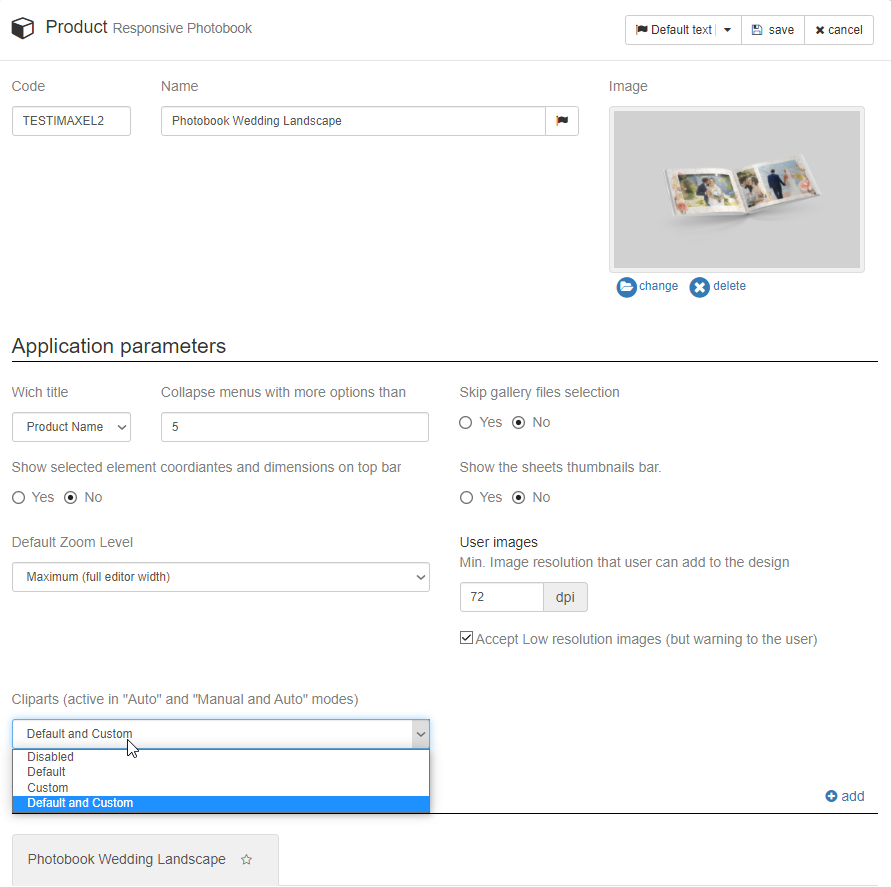
To be able to use Cliparts in your templates, you just have to enable this functionality in the desired template. When you are editing a template, you’ll find a new section called Cliparts.
By default, this functionality is disabled, this is why you should enable it if you want to use it. You can choose to show the Default Cliparts, the Custom Cliparts or both together.
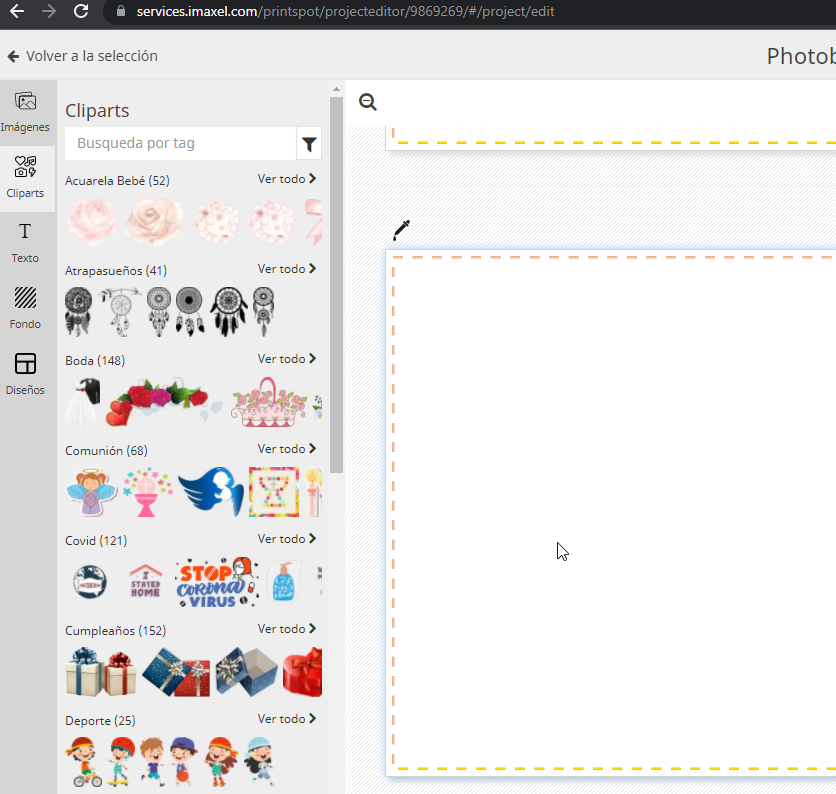
Once the cliparts are activated in the template a new section will be showed in the editor, with the cliparts grouped by tags and a search box to look for a specific tag: wedding, Christmas, Disney…
The customer just have to drag and drop the clipart desired to add it in his project, as showed at following:
One important point is that the cliparts can be locked in model edition, as it happens with the rest of the elements that can be locked in the model edition. Another important point is that the layout setting of the template won’t apply to the cliparts, that is, the user always will have to drag and drop from the library to add it in their project.
As you can imagine, the possibilities using cliparts are endless! Offer unlimited customization to your clients with the use of this functionality!
FAQS
In which editor can we use this functionality?
It’s just available with the Photobook responsive module with the Layout setting in Just Manual or Manual and automatic mode for all the components of this module (pages, cover, calendar or generic).
Which files format are allowed by the Uploader tool? Which is the allowed max size for the files?
PNG, JPEG and JPG with max file size 1 MB. The uploader tool will also let you know these restrictions:
What happens if a PNG file is used with a non-transparent background as a Clipart?
Our system respects the original file, by this way if this image hasn’t its background transparent you won’t see its transparency in the editor. If you want your clipart with transparency, be sure your file is set as PNG with transparency.
